DIY
Review: Rear Center Console Insert (RCCI) for Tesla Model S

I’ve had an aftermarket center console installed on my Model S for some time now and have grown to love it, so when I found out that the manufacturer came up with a companion insert for the rear seats, I decided to give it a go. Here’s my review of EVannex’s new Rear Center Console Insert (RCCI) for the Tesla Model S.
Tesla Model S Rear Seat Challenges
The Model S has fantastic leg space and head room for rear passengers. The seats are also quite comfortable, but Tesla in my opinion has left out some common amenities things that are expected by most passengers. At the top of the list of what’s missing are arm rests followed by cup holders and storage. Other amenities such as USB ports to charge portable electronics and rear climate controls are also missing.

The RCCI provides several of these amenities for rear passengers and all at a reasonable cost. Poking around their site I can see they also offer an optional USB solution though I can’t comment on it since I haven’t seen it in person. Tesla will also have to figure out how to provide climate controls to rear passengers one day.
EVannex RCCI for the Tesla Model S
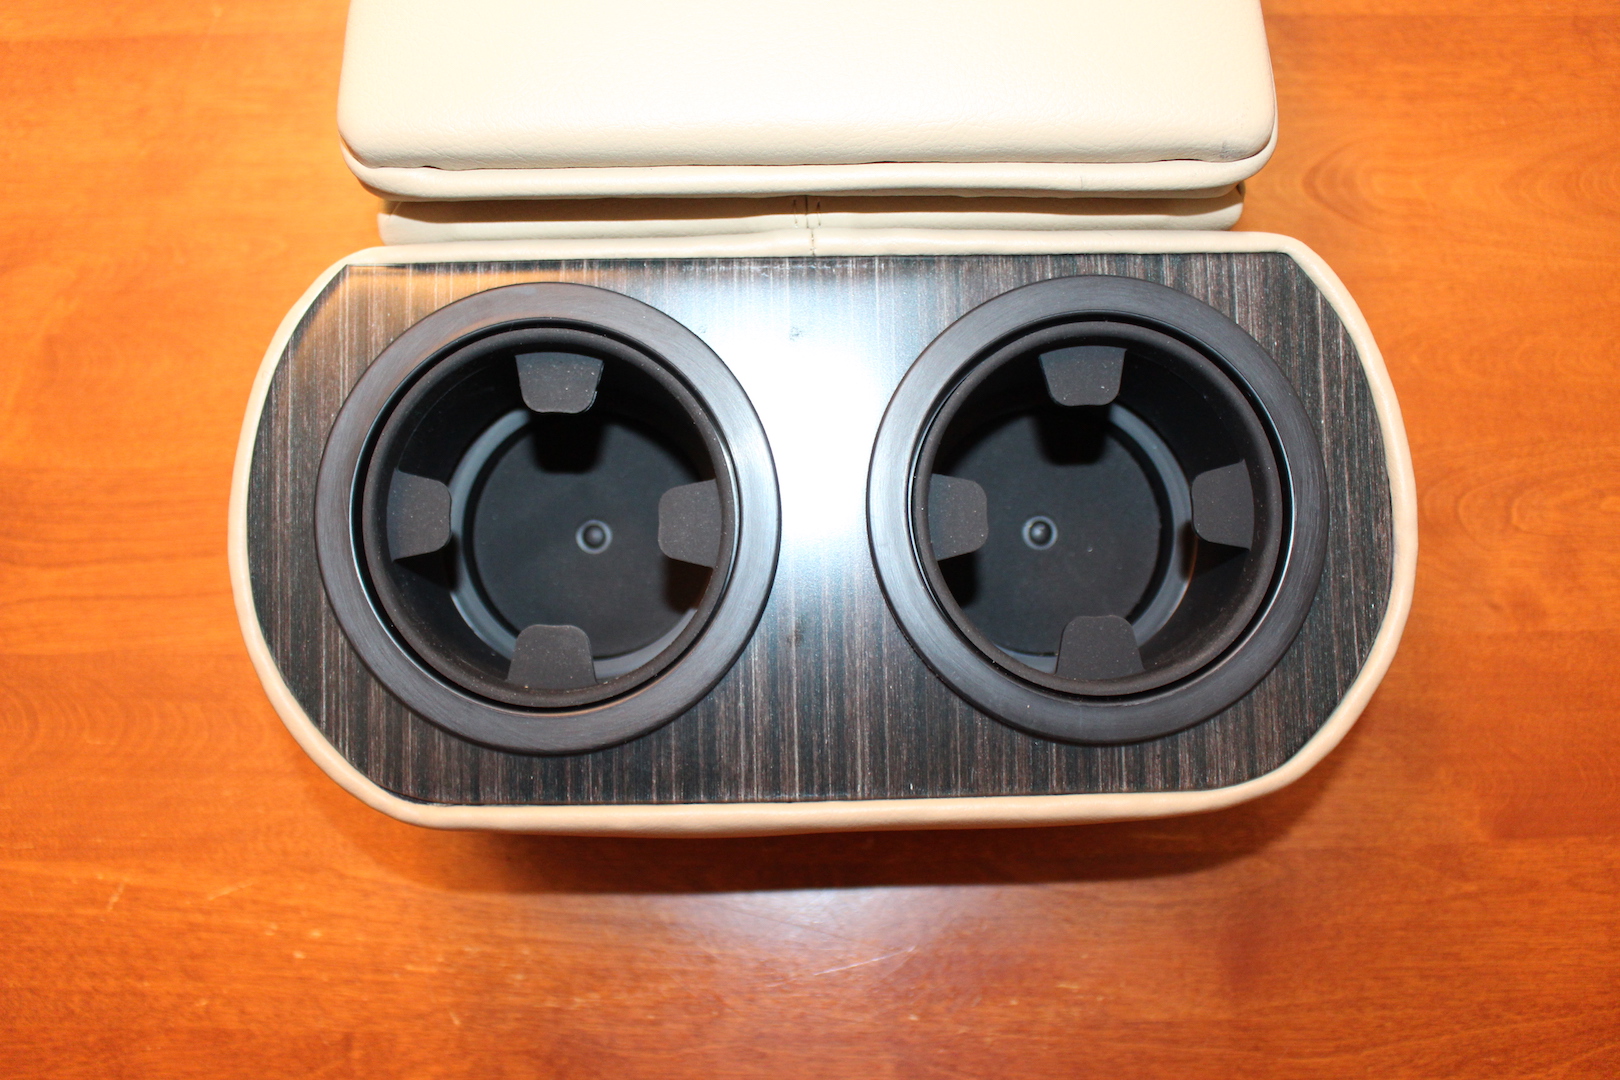
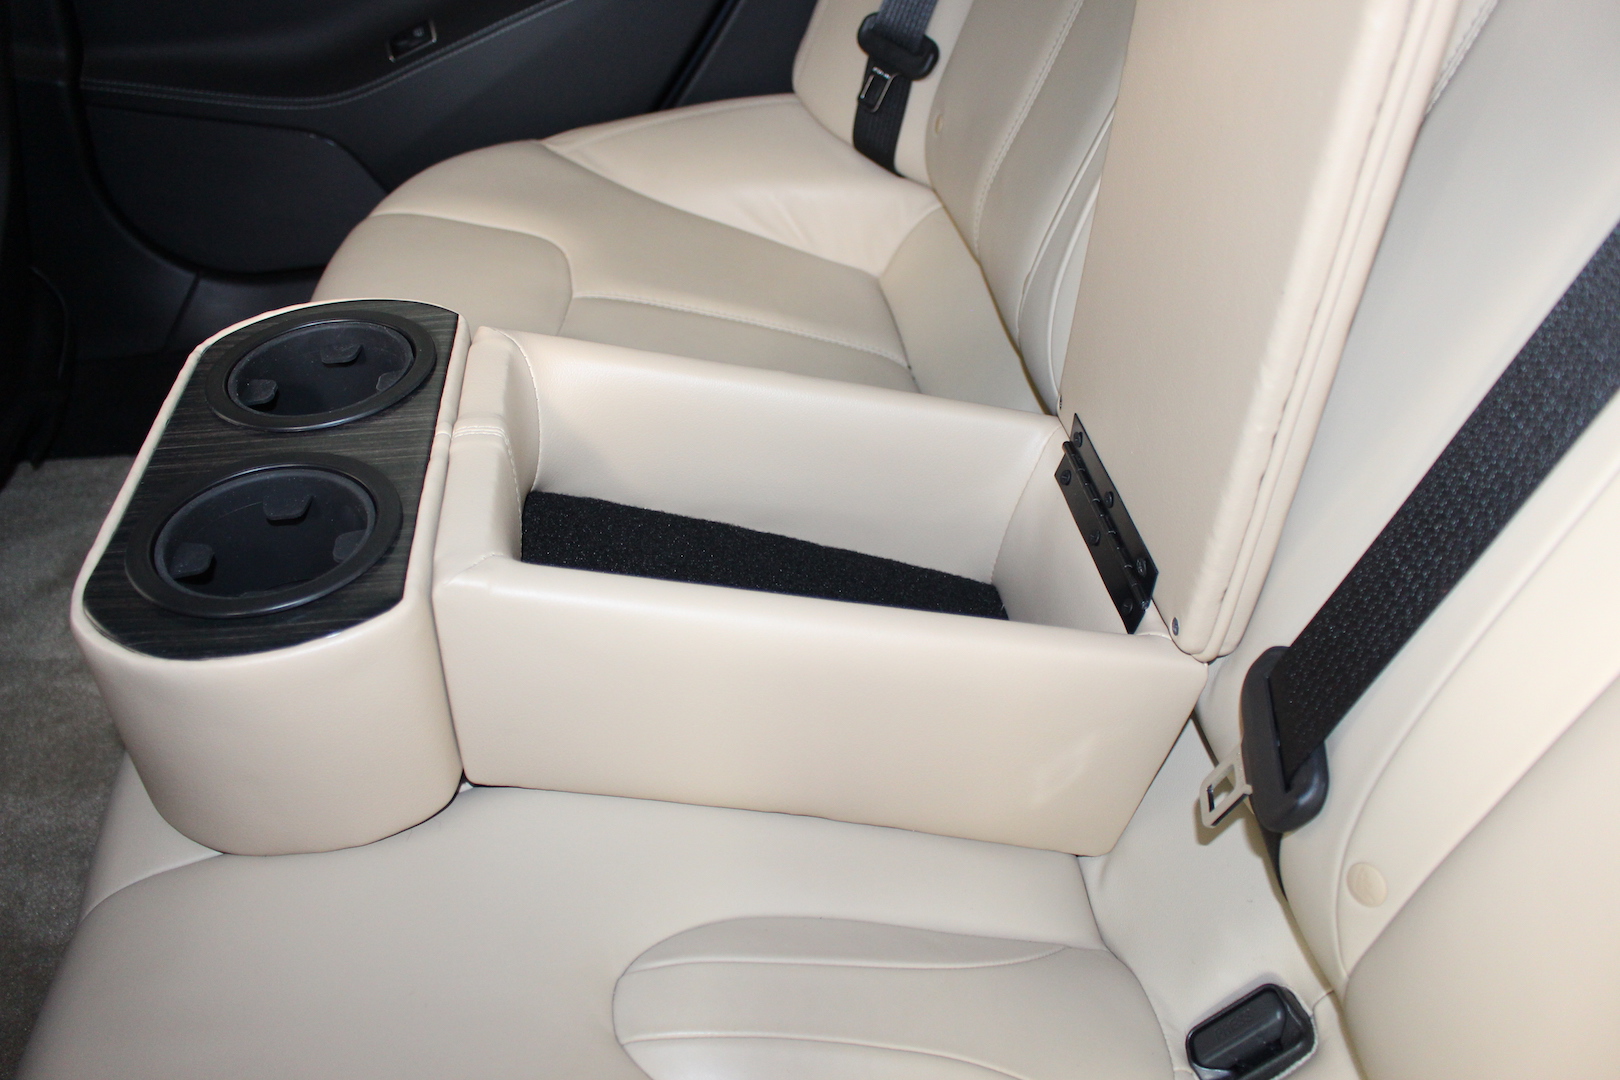
The RCCI is a simple but elegant product. It has two cup holders at the front with a ribbed insert to securely hold drinks of several sizes, and then a padded arm rest that doubles as a lid for the storage area below.
A customizable trim that matches Tesla’s interior trim surrounds cupholders that are spaced far enough apart to allow for larger beverage containers. Removable rubber inserts line each of the cupholders allowing you to adjust grip as needed simply by removing them. One of the issues I had with the front CCI was that the grip from the rubber inserts were so strong that it would lift the cupholders out of console itself when attempting to remove my beverage. Not so anymore with the RCCI as I’m happy to report that they are now firmly attached to the main console assembly.
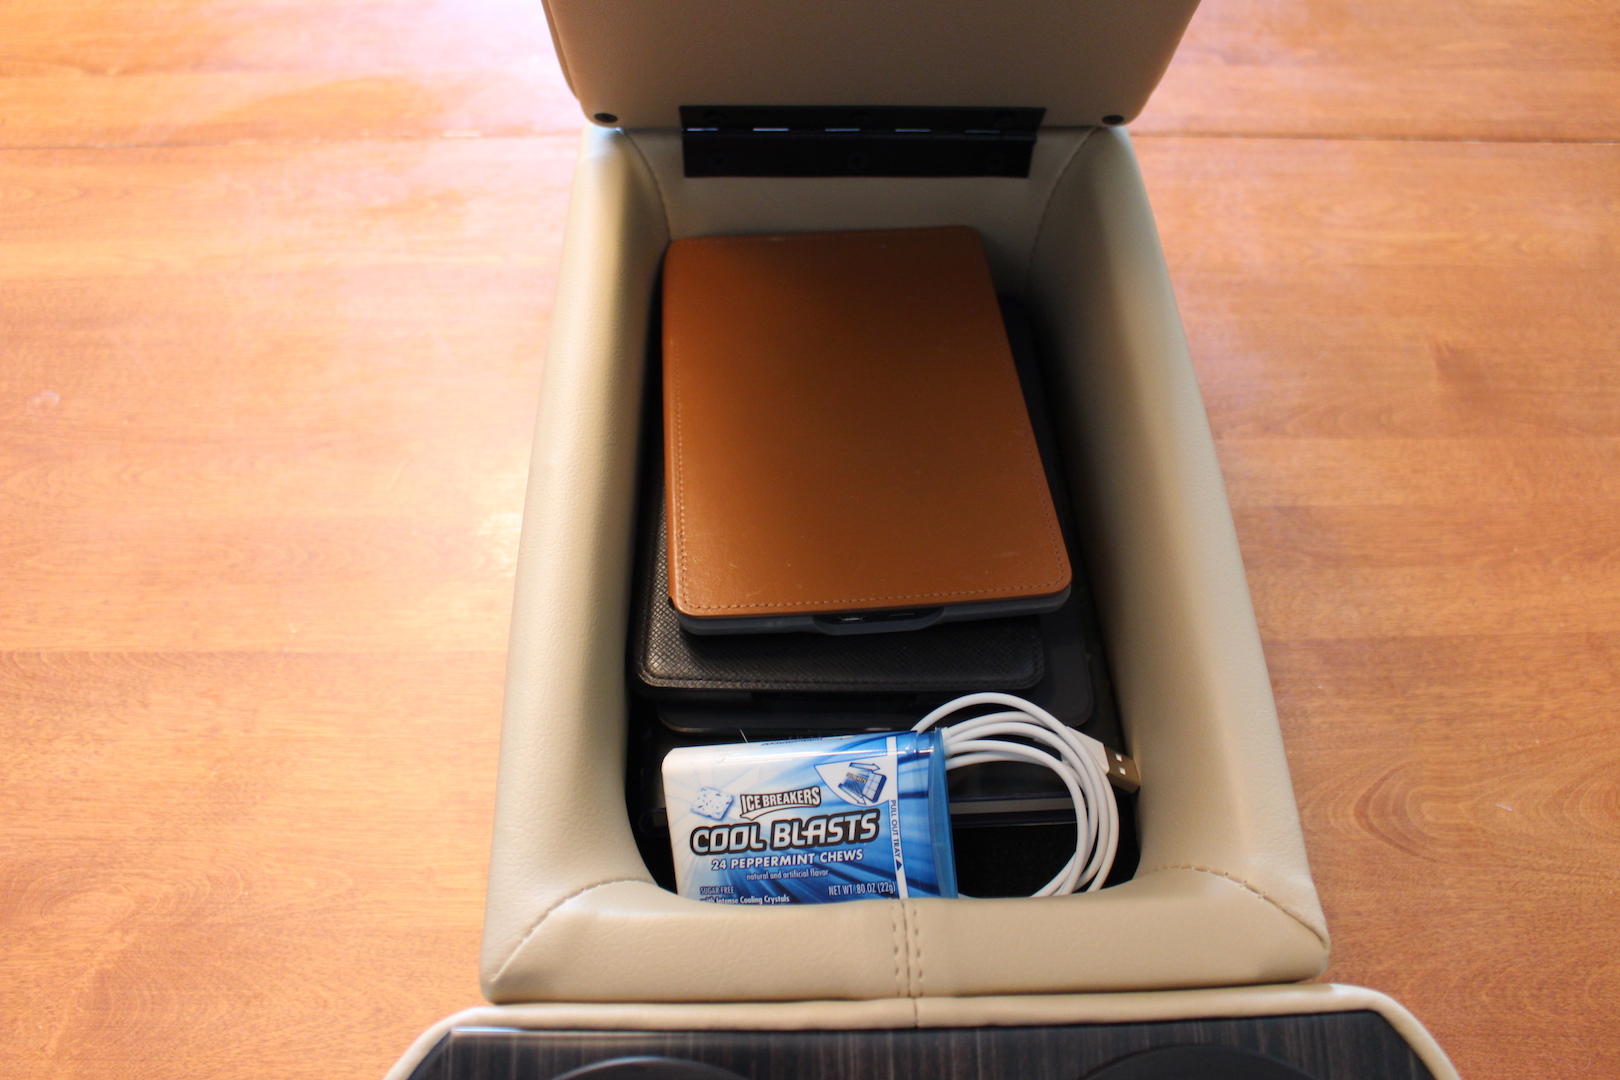
The storage area is quite spacious at 10.5” L x 6.25” W x 4” D (260mm x 158mm x 102mm) and easily fit a mid-sized hardcover book as well as several kindle and iPad mini type devices along with other odds and ends. Note that a full size iPad will not fit in this space.
When closed the RCCI provides ample space for elbows at about the same height you’d expect from any other rear seat arm rest. I own what I’d like to refer to as a vintage Model S or more formerly known as a Classic Model S and the front arm rests on it are too high, too hard, and too far back for my taste. The RCCI provides more padding, a better height and your elbow lands in the middle of the arm rest where it belongs. The RCCI cover itself is of sturdy construction and actually quite heavy. They rest on padded areas of the overall frame which helps prevent it from bouncing around or making noise when driving.
RCCI Installation
The RCCI is simple to install. EVannex provides a great installation video showing one the tips and tricks involved with getting the unit installed and secured.
I find that EVannex typically provides thorough instructions on how to install their products but at the expense of being too thorough and “overkill” at times. As seen in their installation video, they recommend crafting a special hook out of a household coat hanger that is to be used as a guide for the RCCI mounting straps. I did a quick visual check and determined that I could simply push the restraining strap through the seat using my hands instead of going about to fabricate my own tool out of coat hangar.
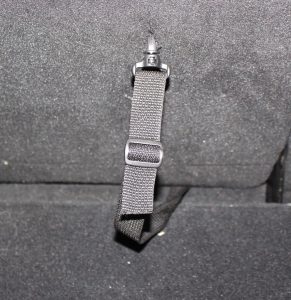 Once the strap is seen from the trunk of the vehicle, it can be fastened to the child-restraint clips found on the back of the rear seats.
You tighten this connection by sliding the simple buckle until you have it secure enough. I found this part to be a bit awkward and would have preferred some kind of ratcheting buckle or system to help with the tightening. The strap was also quite long which made it difficult to stow.
The front connection is a simple hook that clips onto the front of the seat. While you could forgo the front (or even back) hooks I wouldn’t skip either. Drinks, and perhaps stuff inside the RCCI, would not remain in place without both hooks securely attached.

The front hook was easier to tighten and the connection was simple. The only downside is that you will be able to see the strap if you happen to look in that direction, but you’ll soon forget about it.
While the installation was simple and fairly quick, it’s not something I’d want to do on a daily (or even weekly) basis. Fortunately we usually have 3-4 people in the car and driving with 5 is a rare event so I wouldn’t expect to have to remove the RCCI very often. You should think about your own situation to see if this would be an issue.
The RCCI to me is best when you don’t have to repeatedly install it and then take it back out.
Pricing
Prices on the RCCI ranges from a low of $309 for the basic piano black finish to $349 for the carbon fiber finish. I opted for the RCCI with Obeche Wood Matte trim with Tan upholstery which was priced at $329.
The RCCI is priced well as it provides similar functionality to the front Center Console Insert (CCI) but nearly half the price.
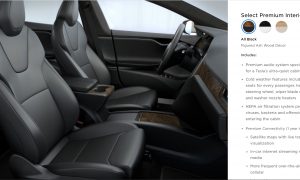
Tesla also offers their own Premium Rear Console which we also had a chance to review, but we found the $650 price a bit steep. Since Tesla’s rear console is essentially the center armrest made to fit in the rear, all of the deficiencies that come with the front console such as cupholders that are too close together, too shallow, and hard arm rests, also carryover to the rear. We also found Tesla’s single-strap mount to be inadequate when it came to securing the arm rest. See our review here.
RCCI Construction
 The RCCI has a solid feel because of its sturdy construction. When the RCCI is on its own and not installed, the overall shape and angles could look odd, but once you have it in place you quickly begin to realize that they had to accommodate for the downward sloping rear seat, and come up with a design that would fit the native contours.
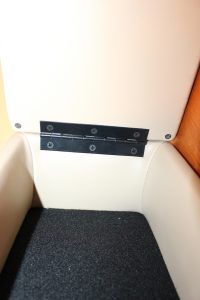
One concern I had was whether the hinge that attaches the armrest to the base of the unit could overextend and break. The hinge itself is almost the full width of the RCCI and uses several screws to attach the lid to the base.
The hinge is not the type that prevents itself from being over-extended, but the RCCI opens at the front edge and presses up against the back seat before it even hits a full 90 degree angle. When properly installed there’s no chance of over extending this hinge as the rear seat is in the way of opening it up too far.
The RCCI is a wood frame covered with trim, upholstery and cloth . The bottom is covered with a black felt cloth similar to the material found in the front and rear trunk of the Model S.
Neither the felt nor the upholstery seemed like they would lend to rubbing or scratching of the leather, but as with anything you leave or secure to a seat for a long time it may leave a small impression. The most likely culprit for an indentation on the seat seems to be come from the front mounting strap. Also the front hook is a painted black metal, it’s wide but not coated with fabric or any other kind of material.

A car seat, left long enough, will leave some lasting dents in your seats. The RCCI has the potential to do that too although it has a few things working in its favor: There’s no kid sitting in/on it, its much lighter than a car seat (about 8 lbs) and it has a wider flat base to better distribute the pressure.
You can control how much pressure is against the seat back by how tight you make the strap and the same goes for the front strap and the front edge of the console.
Putting the RCCI to the Test
I loaded up my RCCI with my books, iPads, Kindles and my favorite beverages and headed out for some spirited driving 🙂

I launched the car many times, came to a quick (but safe!) stop, took sharp turns, accelerated hard into corners, and drove on some typical New England poor back roads. Through the entire drive the RCCI remained in place and best of all my full-sized Dunkin’ iced coffees stayed where they belong. Not a precious drop was spilled. I heard no creaking and could not detect shifting of the console. Overall the installation seems very secure and I believe it would hold up to most driving styles.
So, with all that said, here’s how the EVannex RCCI scores.


Back in 2019, YouTuber Simone Giertz, the self-proclaimed “Queen of Sh*tty Robots,” created a one-off Tesla Model 3 build that took the automotive world by storm. Fondly dubbed as “Truckla,” Giertz noted that the vehicle was actually her dream car — as crazy as that may sound.
Now almost four years later, the YouTuber posted an update on Truckla. And just like every other big project that one probably started, Giertz stated that she actually stopped working on Truckla when the vehicle was about 80% complete. The car is driving though, but a lot of stuff was not really working very well.
Thus, for her Truckla update, Giertz shared how most of her Model 3 pickup truck conversion was essentially completed. Truckla got a lot of detailing done, she got a slight lift, and she now has a functional tailgate. One has to admit, Truckla’s tailgate is pretty darn cool.
The “Queen of Sh*tty Robots” also opted to give Truckla a friend in the form of an automatic robot charger. Unlike Tesla’s rather interesting snake charger from years past, Truckla’s charger would come in the form of a rover, thanks to her friends at robotics platform Viam. Giertz aptly named Truckla’s robot charger friend “Chargela,” which is an appropriate name for such an invention.
Also true to form for Giertz, Chargela’s first encounter with Truckla was just a tiny bit awkward. One could say that Chargela may have just been a little bit nervous on his first try without human hands helping him. Most importantly, the system did work, so Giertz would likely keep using Chargela for her Model 3 pickup.
Teslas are very tech-heavy vehicles, so projects like Giertz’s Truckla are always remarkable. The fact that the Model 3 works perfectly fine despite having a good chunk of it cut off and turned into a pickup truck bed is mighty impressive any way one looks at it. Overall, Truckla will always be one of the coolest Tesla DIY projects to date, so any updates about the vehicle are always appreciated.
Truckla’s nearly four-year update can be viewed below.
Don’t hesitate to contact us with news tips. Just send a message to simon@teslarati.com to give us a heads up.
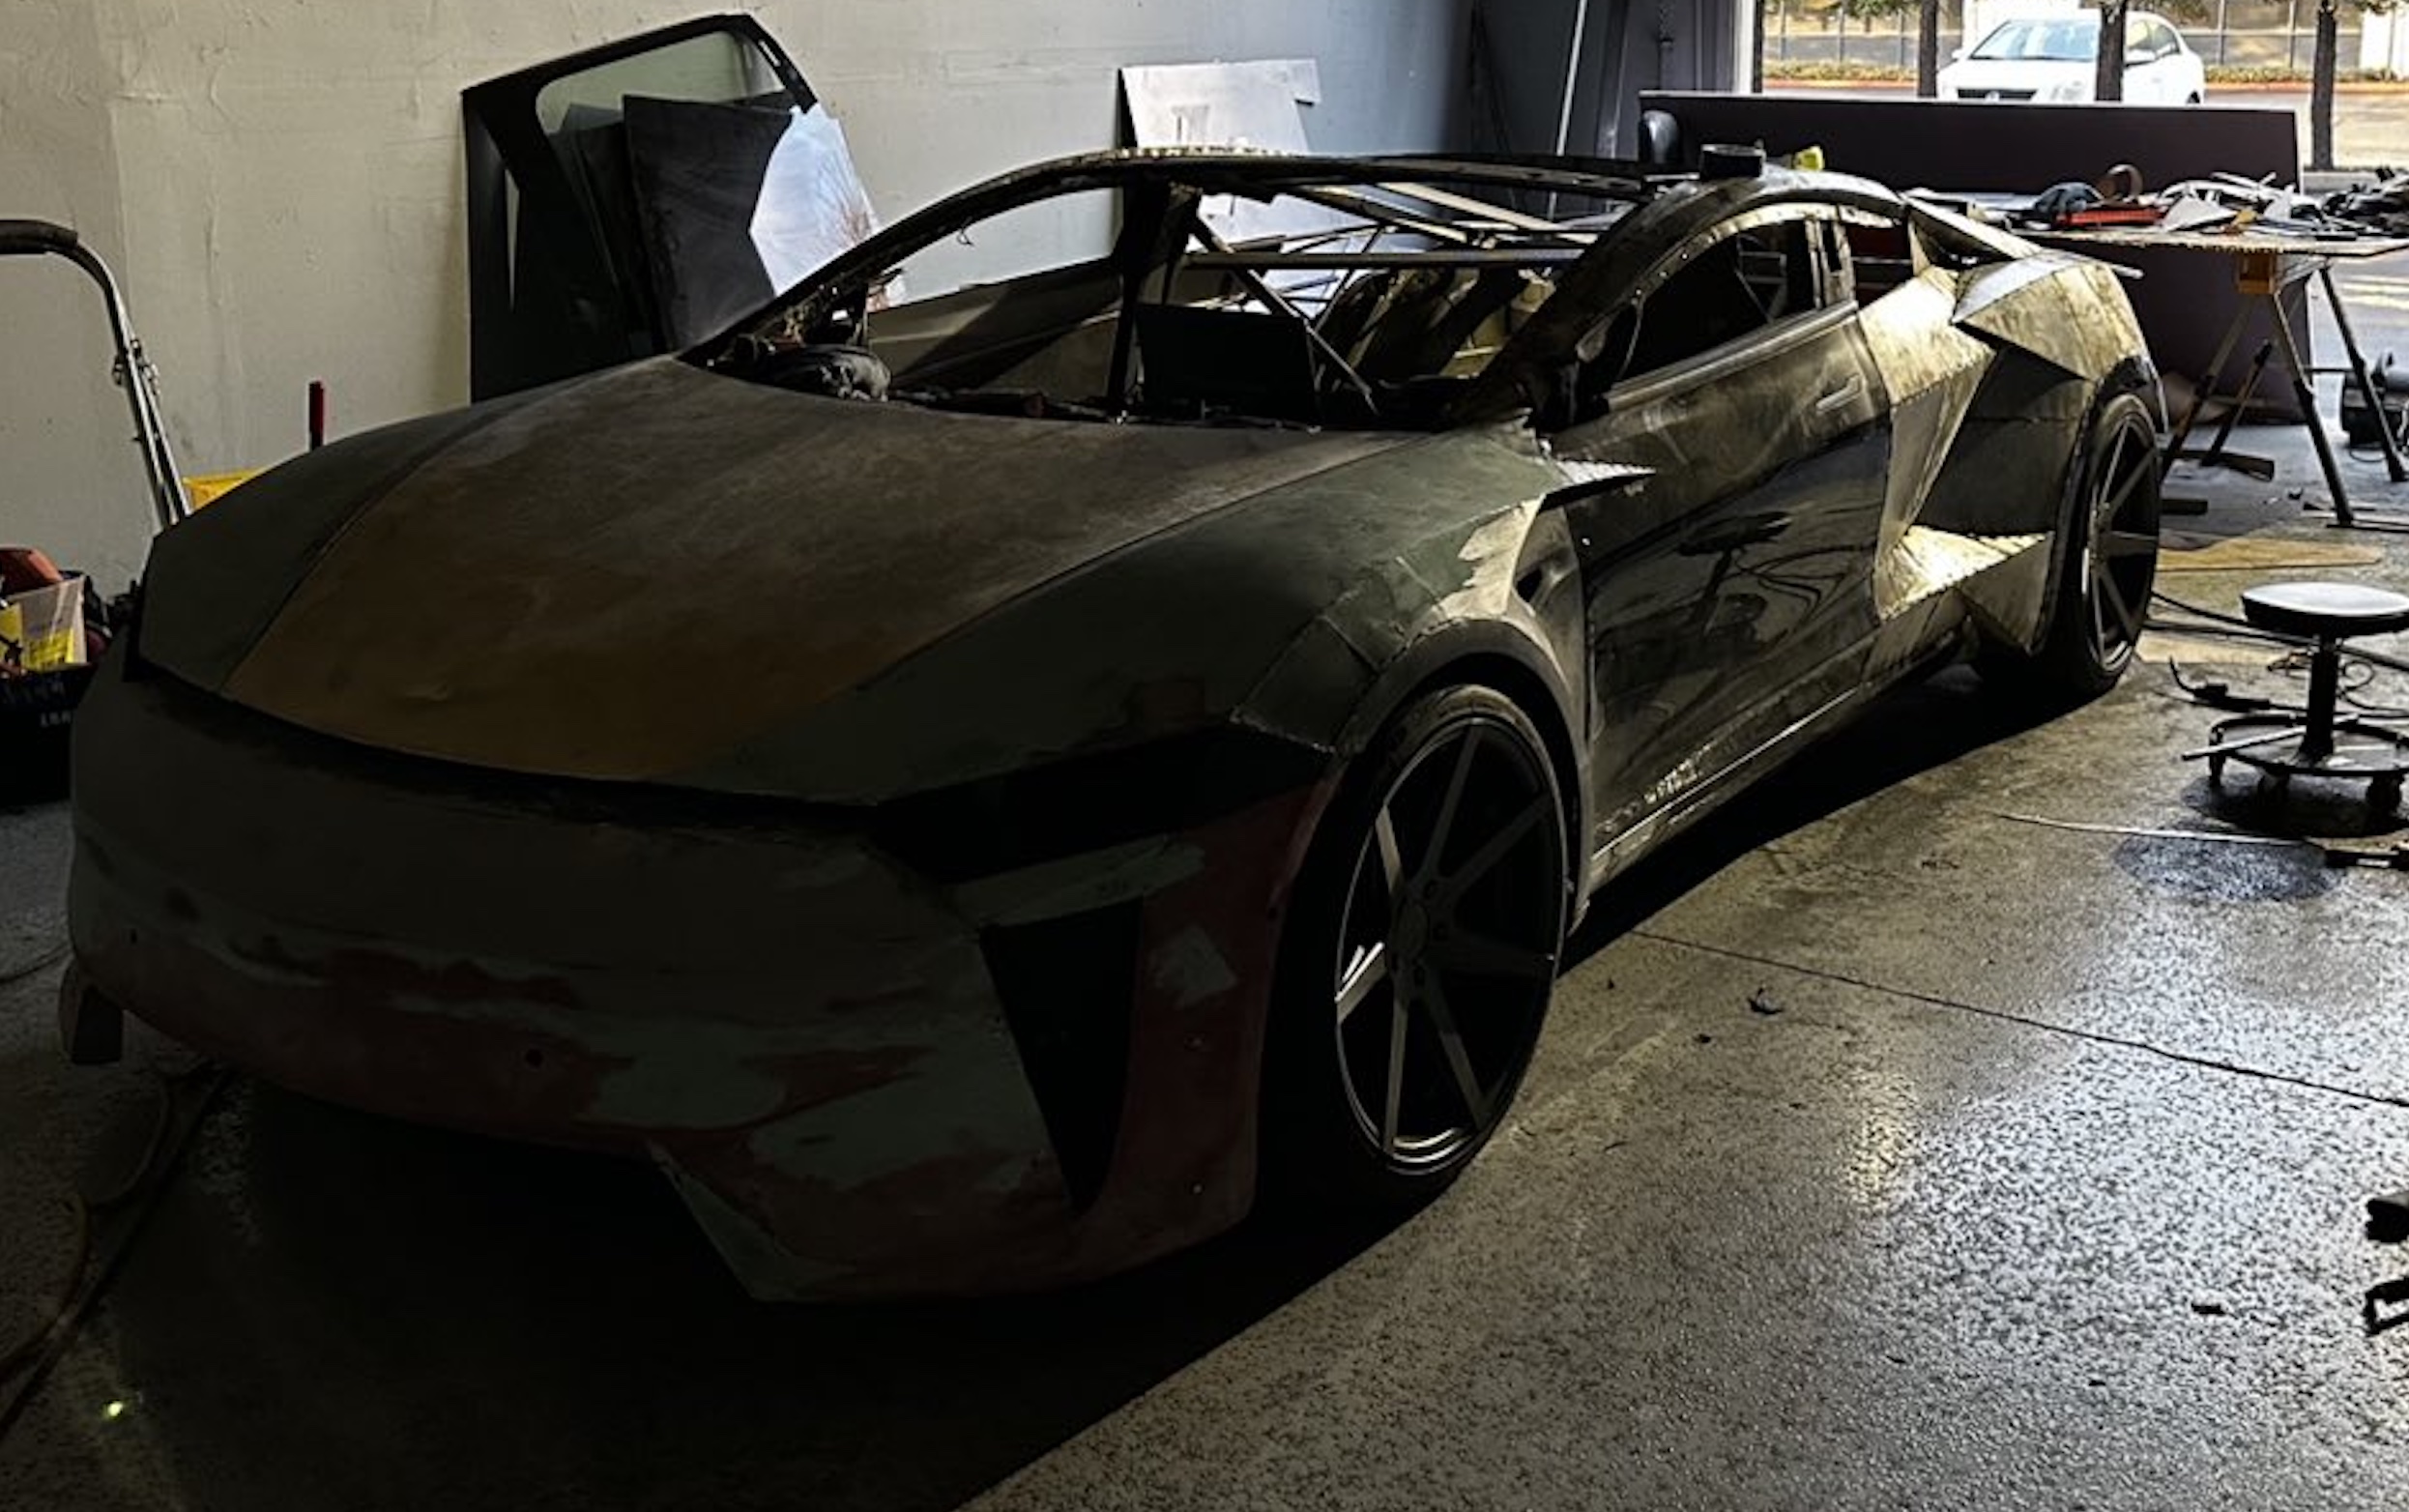
A Tesla owner is taking his hobby and love for electric vehicles to new levels by creating what could only be described as one of the coolest EV-related DIY projects to date. The idea for the project is simple: what happens when you cross a supercar with the Cybertruck? You end up with a two-seater CyberRoadster.
Tesla owner David Andreyev, who goes by the username @Cyber_Hooligan_ on Twitter, has spent the last few months creating a Cybertruck-inspired version of the next-generation Roadster made from a salvaged Model 3 Performance. Starting with a Model 3 Performance is an inspired choice, considering that it is Tesla’s first vehicle that has a dedicated Track Mode.
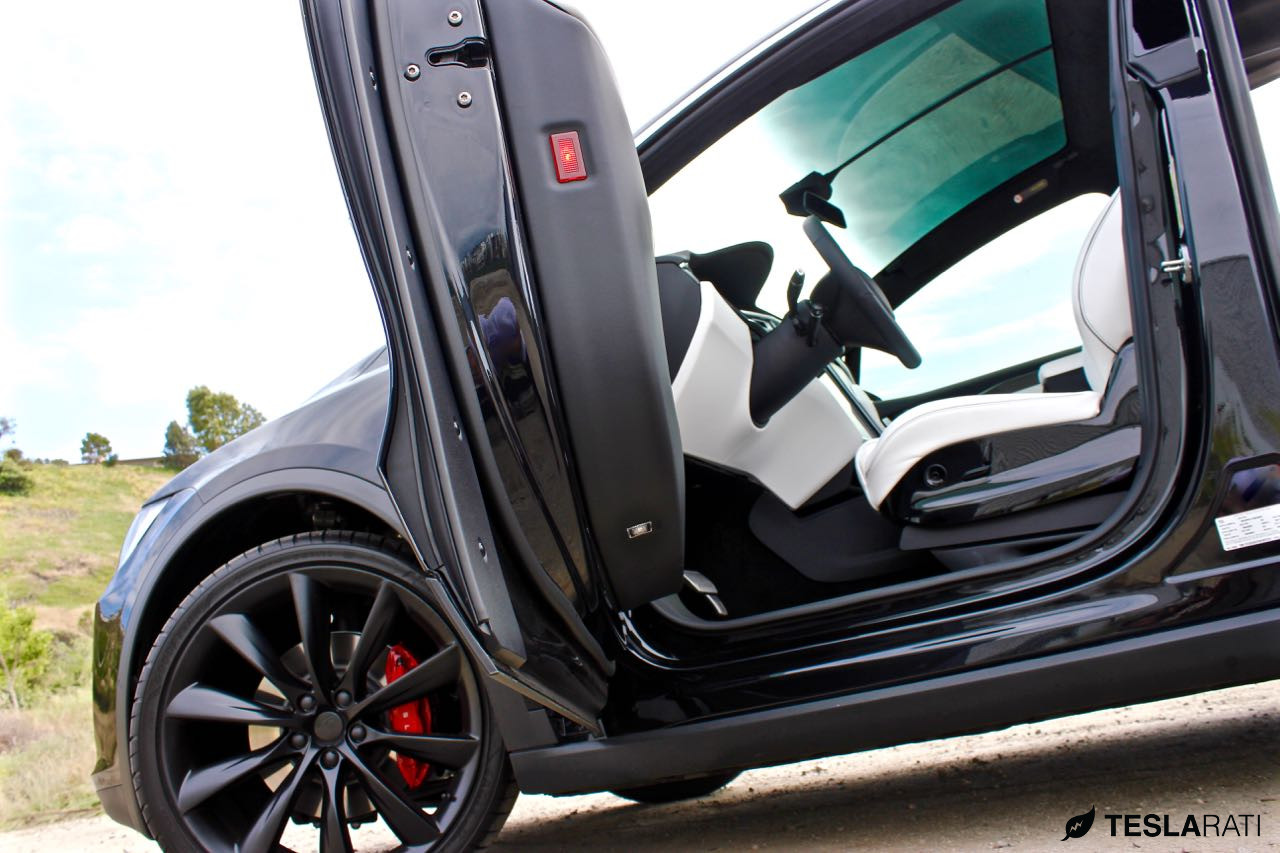
A look at Andreyev’s YouTube channel, which can be accessed here, shows the meticulous build that the Tesla owner has implemented on the project car. What’s particularly cool about the CyberRoadster is the fact that it’s being built with parts that are also from other Tesla vehicles, like its front bumper that came from a new Model S. Recent videos suggest that the project car’s rear bumper will be from a new Model S as well.
The journey is long for Andreyev, so the completion of the CyberRoadster will likely take some more time. Despite this, seeing the Tesla owner’s DIY journey on such an epic build is more than satisfying. And considering that the CyberRoadster is evidently a labor of love from the Tesla owner, the final results would likely be extremely worth it.
There’s a lot of crazy Tesla modifications that have been done as of late. But some, as it is with a lot of things on the internet these days, have become more silly gimmicks than serious automotive projects. Fortunately, car enthusiasts like Andreyev, who just happen to also love electric vehicles, are taking it upon themselves to create one-of-a-kind EVs that would surely capture the attention of anyone on the road.
Check out the latest video in the CyberRoadster’s creation below.
Don’t hesitate to contact us with news tips. Just send a message to simon@teslarati.com to give us a heads up.
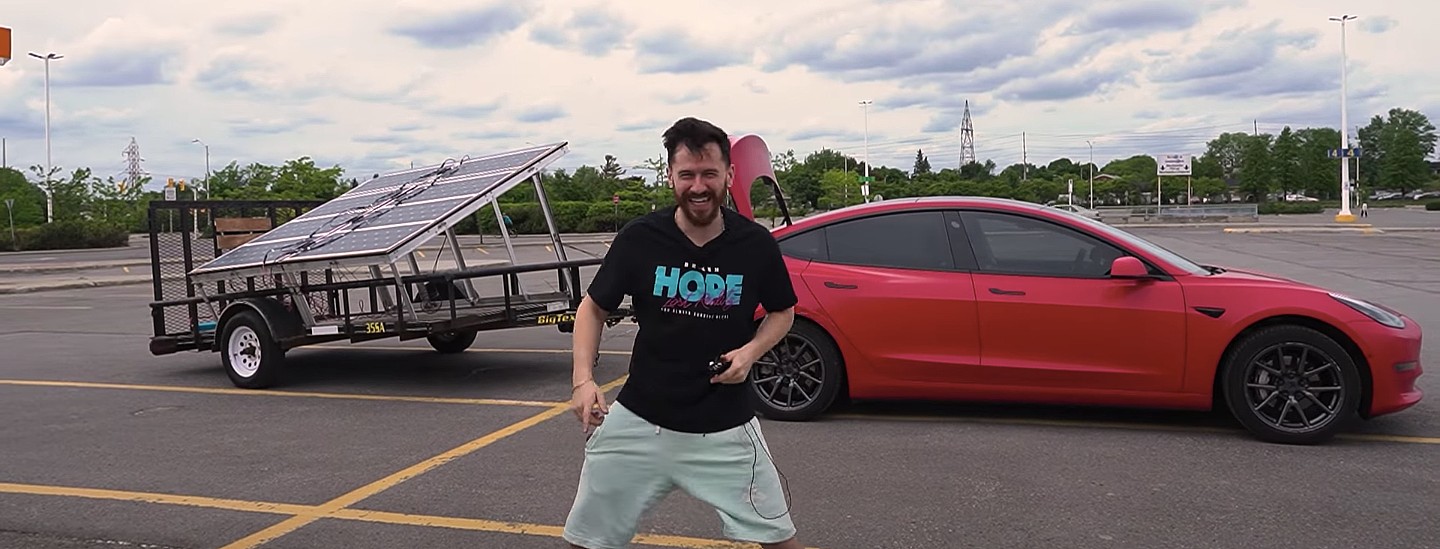
A Tesla owner has demonstrated a rather novel way to charge his Model 3. In a recent video, Sean Callaghan of the ItsYeBoi YouTube channel opted to use a series of off-the-shelf solar panel sheets onto a towable trailer to create a mobile charging unit for his all-electric sedan.
Callaghan planned to use only the sun and the solar sheets purchased from e-commerce platform Wish to charge his Model 3. The solar panel sheets would collect energy from the sun and transfer it to a control panel. The control panels were connected to batteries that would hold the energy—the batteries connected to an inverter, which would then charge the Tesla Model 3.
The entire assembly would provide the Model 3 with about 800 watts of energy on a completely sunny day. However, Callaghan shot the video when weather was overcast, so the entire solar panel trailer build only managed to provide around 300 watts throughout the YouTube host’s test.
To put this into perspective, a 100 volt home wall outlet provides 1.4 kilowatts of power, or 1,400 watts. Therefore, the 300-watt solar panel assembly built by Callaghan was producing less than 25% of the energy of a typical wall outlet. This is pretty marginal compared to Tesla’s 250-kilowatt V3 Superchargers, which provides 250,000 watts, or about 833 times as much power as the makeshift solar panel build.
However, Callaghan’s goal was not to charge the vehicle quickly. He explained the idea came from a previous video where he used a $5,000 Wish-purchased wind turbine to charge his Model 3. He wanted to test the effectiveness and efficiency of the system, which was questionable due to the time it would take to charge the battery fully.
The Model 3 battery pack is 78 kWh, and with Callaghan’s 300-watt system charging his electric vehicle, it would take 260 hours to supply the Tesla’s battery to full capacity.
In the past, electric vehicle enthusiasts have asked Tesla CEO Elon Musk why the company’s vehicles do not contain solar glass roofing, which would charge the car while the owner is driving. Musk has explained that the efficiency of this idea is challenging and likely would not provide an ample amount of range.
When asked about the idea of putting solar panels on the top of Tesla’s vehicles in 2017, Musk responded that the idea was “Not that helpful, because the actual surface of the car is not that much, and cars are often inside. The least efficient place to put solar is on the car.” It also would not be cost-effective for Tesla because “the cost of the panels and electronics, R&D and assembly would never pay for itself in the life of the vehicle, compared to charging from the wall in your garage,” Quartz noted.
That being said, Tesla plans to implement solar panels onto the motorized tonneau of the upcoming Cybertruck. The idea was discussed on Twitter when Musk stated that the optional feature would add “15 miles per day, possibly more” when parked in the sunlight. Also, fold-out solar wings could help capture enough solar energy for 30 to 40 miles a day.
Watch Sean Callaghan’s video of his makeshift solar panel trailer below.

Armored Tesla Cybertruck “War Machine” debuts at Defense Expo 2025

Tesla Megapacks chosen for 548 MWh energy storage project in Japan


