DIY
Steelie Review: iPad Car Mount for your Tesla Model S
Generally speaking I’m a minimalist so I don’t have a lot of extra devices, cables and miscellaneous items laying around my Tesla Model S. I put a lot of thought into whether a component will serve a useful purpose but also whether it looks in place within the car before committing to it. I went through this very same exercise before deciding on the dual channel Tesla dash cam. This time around I’m installing a discreet and removable car mount that will secure my electronic devices to the front dash of my Model S.
Why get a car mount?
As mentioned, a car mount is a great way to attach your personal electronic device to the vehicle. Having a car mount goes beyond just having a convenient way to secure my devices. I was looking for a solution that would allow me to utilize my favorite apps during my driving experiences. A car mount allowed me to achieve the following:
- Use a better routing/navigation app than what Tesla provides. Tesla Navigation keeps improving with each firmware update but there’s still some quirks and it also lacks important features such as waypoints.
- The ability to get social/live updates of traffic, accidents, etc. While Tesla has added traffic based routing, it still provides no details of traffic conditions. With apps like Waze you can hear about accidents, traffic stops, and the like, in advance. Hearing real-time reports of police hideouts may also be very useful.
Car Mount Requirements
I made a list of requirements that my car mount needed to satisfy and they’re as follows:
- Not permanent – can be removed without leaving any permanent marks on the car.
- Stable – will not slide around, shake, etc as I launch the car and otherwise drive my Model S as it should be driven. This eliminates the bean bag type mounts and a few others.
- Within (but not blocking) the drivers field of vision – I don’t want to take my eyes off the road to know whats going on. Something on the floor, center console (if I had one), cupholder etc. would not work.
- Doesn’t block my view of the beautiful 17″ display, my normal dash display and also doesn’t interfere with the passenger’s view of the same things. Aesthetics are important.
- Doesn’t block the vents providing me precious heat or cooling.
My research turned me to a simple car mount that satisfied all of my criteria – the Nite Ize ‘Steelie’ available on Amazon for approximately $20.
‘Steelie’
 The Steelie looks classy and is made up of a magnetic steel ball attachment and receptacle. Each piece comes with a 3M VHB foam adhesive backing which is extremely sticky.
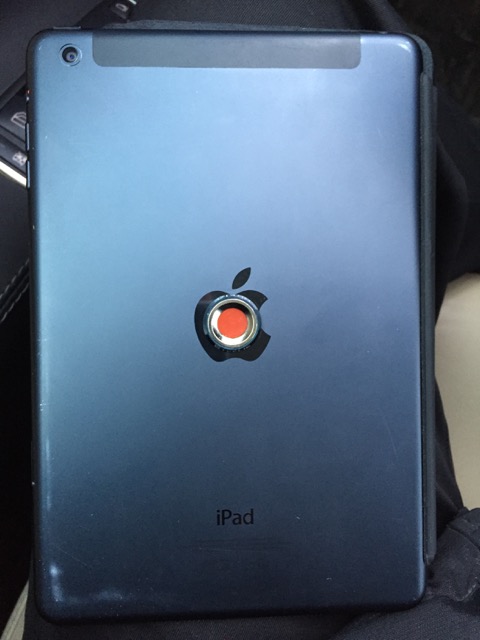
For the install, one piece goes on your dash and the other attaches to your device. The attachment on your device is fairly small but it definitely adds a little more thickness and edge to your device. You can attach the piece directly to your device or to its case, but once it’s on, it’s going to stay on for a very long time.
I have a spare iPad Mini with 3G that I keep in my Model S at all times. I use it for reading and killing time while waiting at Supercharger stops or when waiting to pick up the kid. I can use it in the car or carry it with me into a coffee shop since it’s always online. The iPad is also much faster than the built-in Tesla browser plus it has the added benefit of being apply to play videos.
All those reasons made my iPad tablet the perfect companion for the Steelie car mount.

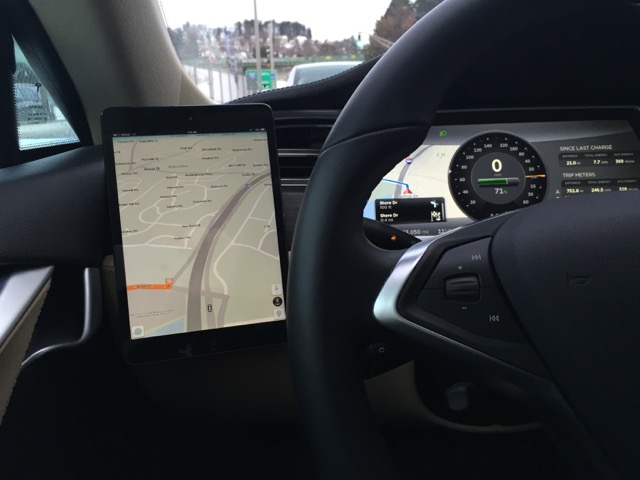
Steelie car mount attached to the Model S dash via 3M adhesive backing
On the left side of the dash I installed the Steelie metal ball. This is essentially a very powerful magnet that Steelie guarantees will not affect your electronic device. Take extra care when selecting a mounting point for the Steelie as you’ll want to keep it in a spot that does not interfere with the airbags, but also positioned in a way that the iPad can be easily viewed.
I found that by placing the ball on the left side of the dash display in line with the leftmost edge of the vent (where the surface is flat) the Steelie looked the most natural. My iPad Mini sits at just the right height in this position and can be angled slightly towards me yet it won’t interfere with the door or block ventilation.
One of the great things about the Steelie is how fast you can attach and detach devices. Just grab the device and place it on the ball. Everything lines up easily and instantly grabs hold because of the strong magnets. To detach just give it a slight tug. Your device won’t come off during hard launches or turns but it will come off easily when you tug on it. Another great feature is that you can angle and move your device while its attached giving you quite a bit of flexibility in positioning. This has been a great solution for me.
The Steelie can be easily removed by sliding dental floss between the Steelie and the dash. This will cut through the 3M adhesive used to attach the car mount. I tried this and can confirm that I was successful at removing both. You’re not supposed to re-use the same adhesive after detaching (they have replacement adhesive for this) but for a one-time test it was fine for me.
Daily Use

I keep my iPad plugged into power and tucked along the right side of the driver’s seat. I have a black charge cable and a black magnetic Apple “smart cover” that protects it from getting scratched but also makes it blend into the black trim of the seats making it near invisible.
It’s easily accessible when needed. Unplug the charge cable, flip off the magnetic smart cover and slap it on the Steelie car mount and I’m ready to go. I generally don’t plug the the iPad into a power source when it’s mounted on the Steelie but I could easily do so by using my Model S 12V adapter since the plug is right below the Steelie’s mounting location.
If I want to hear about upcoming alerts without seeing it on the iPad’s screen, then I simply turn on the device but leave it tucked away. I prefer to have the alerts play from the device’s speaker so it doesn’t interfere with my music.
This solution can obviously be used with any car and is not specific to the Model S. Abstract Ocean is offering this same product on their Tesla-specific site. They have a great mix of Tesla Model S specific accessories such as this center touchscreen protector. Their price is on par with Amazon’s but you may want to check the difference in shipping charges between each vendor.


Back in 2019, YouTuber Simone Giertz, the self-proclaimed “Queen of Sh*tty Robots,” created a one-off Tesla Model 3 build that took the automotive world by storm. Fondly dubbed as “Truckla,” Giertz noted that the vehicle was actually her dream car — as crazy as that may sound.
Now almost four years later, the YouTuber posted an update on Truckla. And just like every other big project that one probably started, Giertz stated that she actually stopped working on Truckla when the vehicle was about 80% complete. The car is driving though, but a lot of stuff was not really working very well.
Thus, for her Truckla update, Giertz shared how most of her Model 3 pickup truck conversion was essentially completed. Truckla got a lot of detailing done, she got a slight lift, and she now has a functional tailgate. One has to admit, Truckla’s tailgate is pretty darn cool.
The “Queen of Sh*tty Robots” also opted to give Truckla a friend in the form of an automatic robot charger. Unlike Tesla’s rather interesting snake charger from years past, Truckla’s charger would come in the form of a rover, thanks to her friends at robotics platform Viam. Giertz aptly named Truckla’s robot charger friend “Chargela,” which is an appropriate name for such an invention.
Also true to form for Giertz, Chargela’s first encounter with Truckla was just a tiny bit awkward. One could say that Chargela may have just been a little bit nervous on his first try without human hands helping him. Most importantly, the system did work, so Giertz would likely keep using Chargela for her Model 3 pickup.
Teslas are very tech-heavy vehicles, so projects like Giertz’s Truckla are always remarkable. The fact that the Model 3 works perfectly fine despite having a good chunk of it cut off and turned into a pickup truck bed is mighty impressive any way one looks at it. Overall, Truckla will always be one of the coolest Tesla DIY projects to date, so any updates about the vehicle are always appreciated.
Truckla’s nearly four-year update can be viewed below.
Don’t hesitate to contact us with news tips. Just send a message to simon@teslarati.com to give us a heads up.
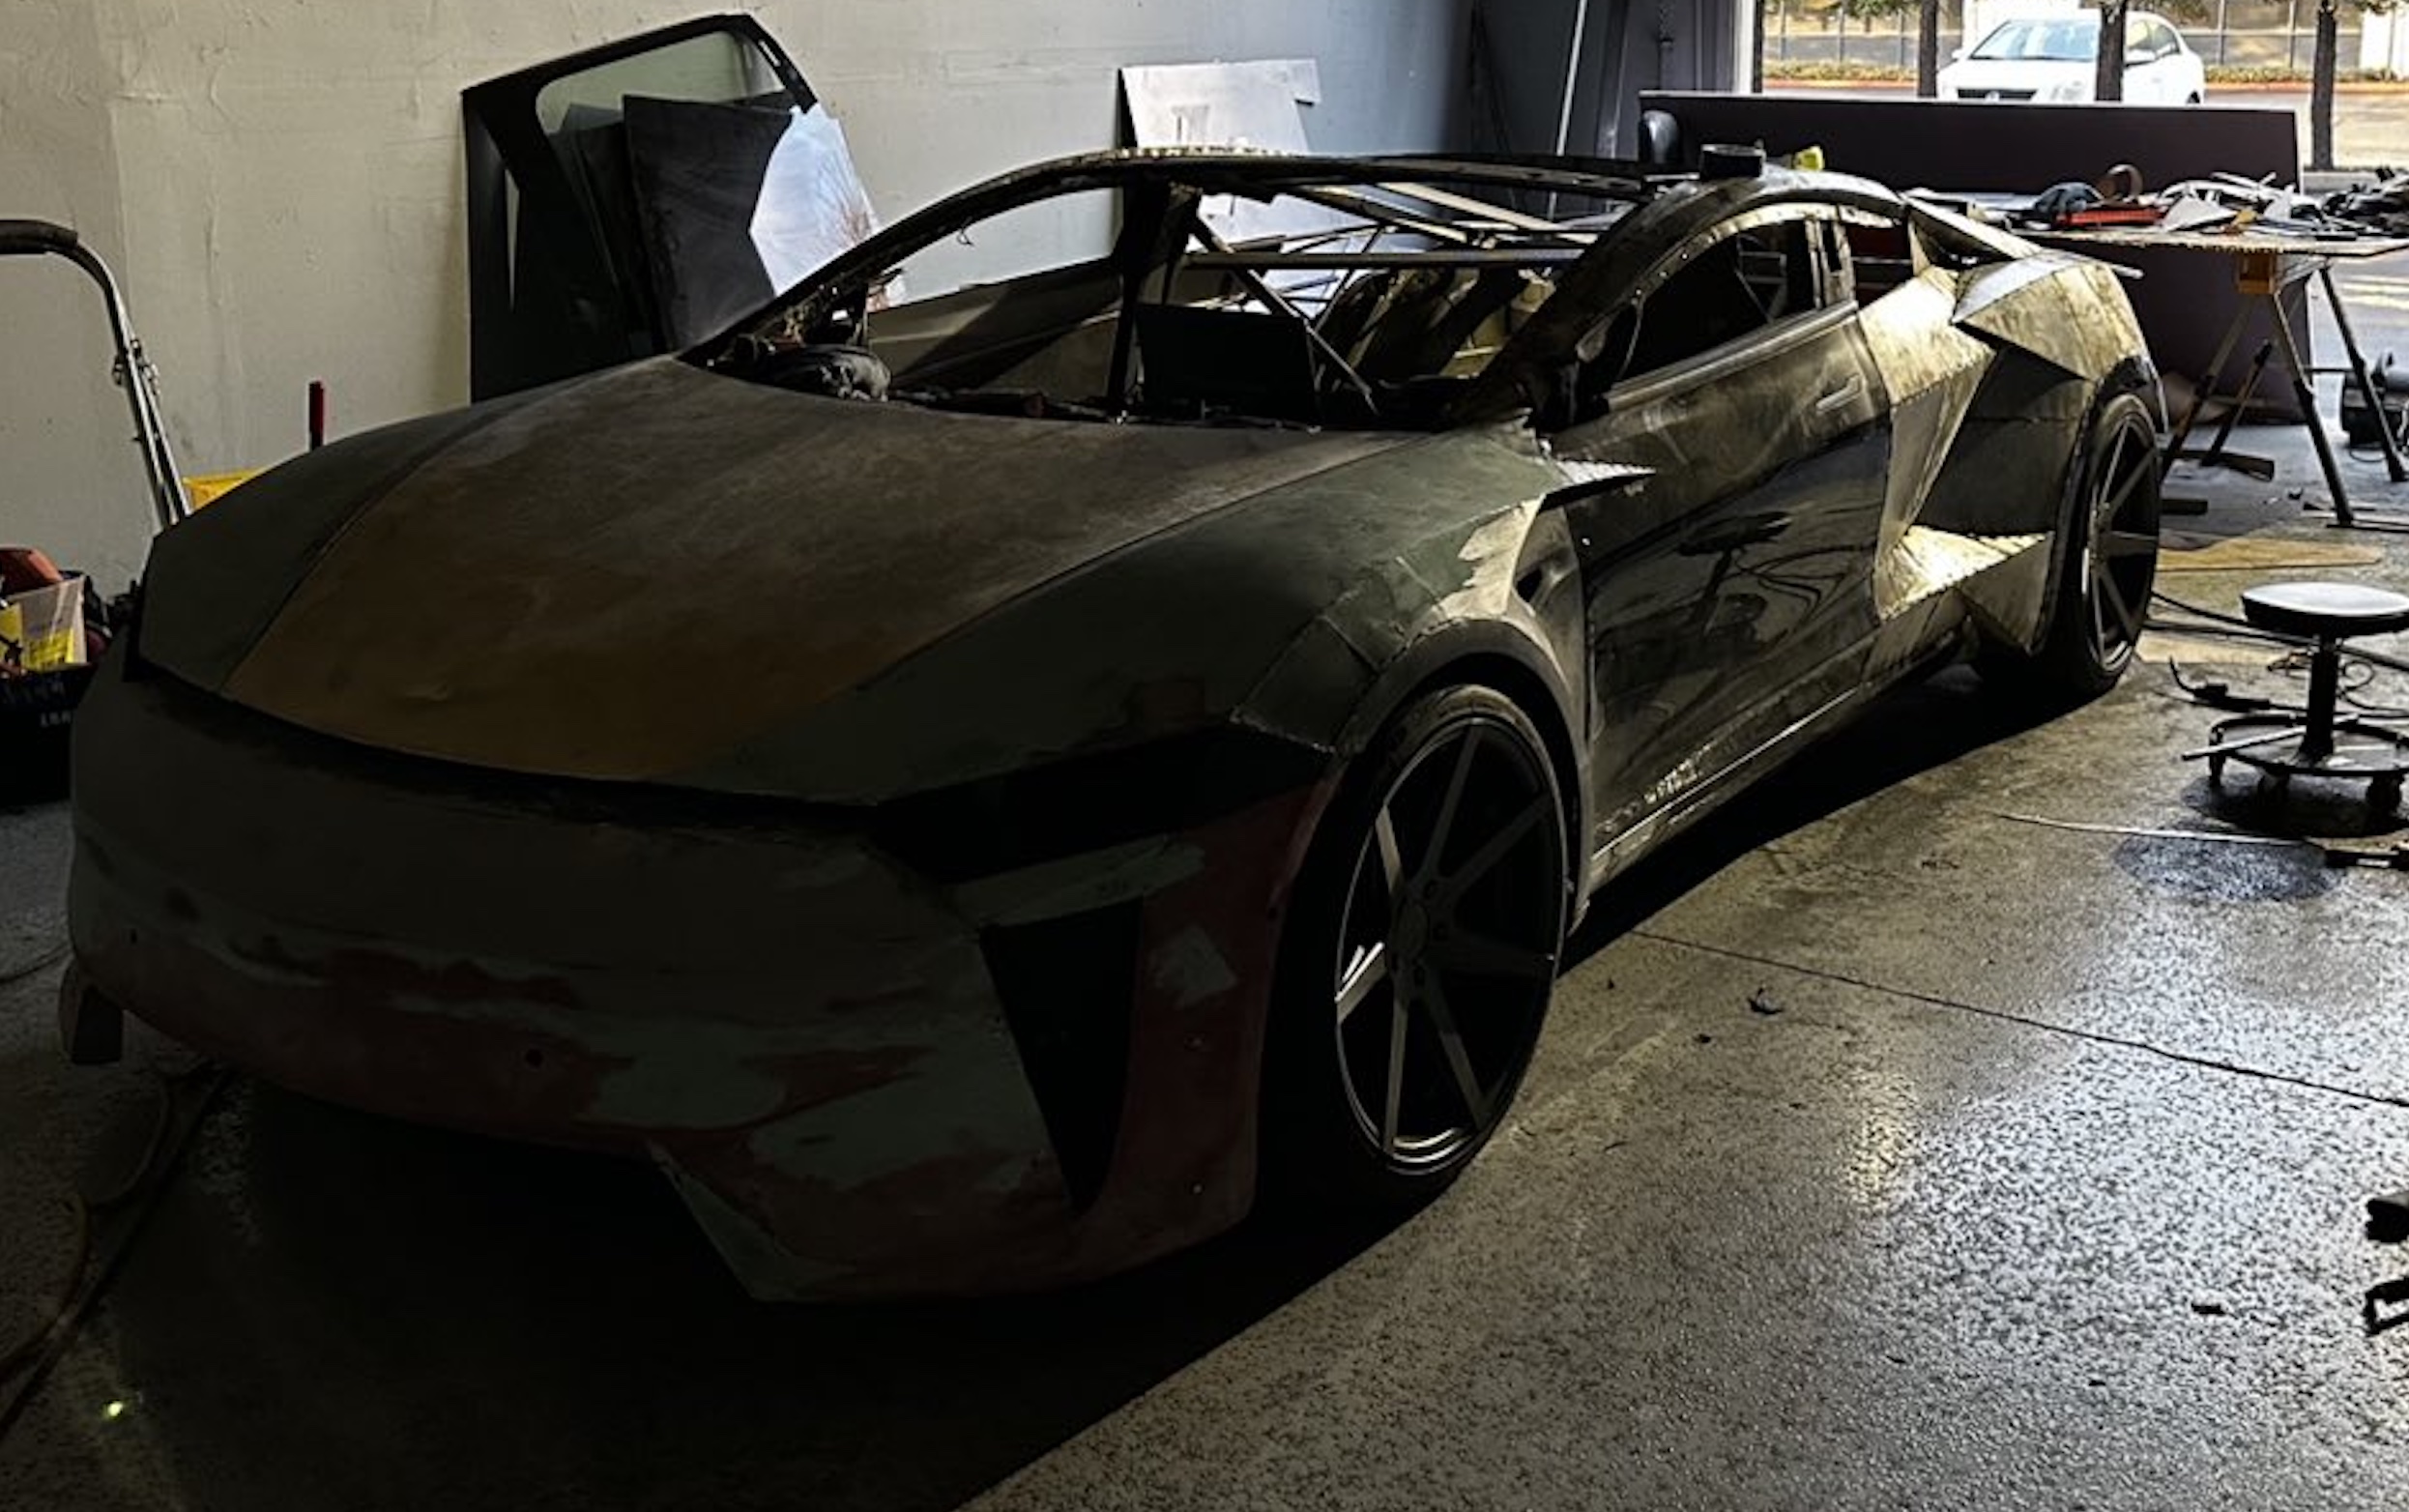
A Tesla owner is taking his hobby and love for electric vehicles to new levels by creating what could only be described as one of the coolest EV-related DIY projects to date. The idea for the project is simple: what happens when you cross a supercar with the Cybertruck? You end up with a two-seater CyberRoadster.
Tesla owner David Andreyev, who goes by the username @Cyber_Hooligan_ on Twitter, has spent the last few months creating a Cybertruck-inspired version of the next-generation Roadster made from a salvaged Model 3 Performance. Starting with a Model 3 Performance is an inspired choice, considering that it is Tesla’s first vehicle that has a dedicated Track Mode.
A look at Andreyev’s YouTube channel, which can be accessed here, shows the meticulous build that the Tesla owner has implemented on the project car. What’s particularly cool about the CyberRoadster is the fact that it’s being built with parts that are also from other Tesla vehicles, like its front bumper that came from a new Model S. Recent videos suggest that the project car’s rear bumper will be from a new Model S as well.
The journey is long for Andreyev, so the completion of the CyberRoadster will likely take some more time. Despite this, seeing the Tesla owner’s DIY journey on such an epic build is more than satisfying. And considering that the CyberRoadster is evidently a labor of love from the Tesla owner, the final results would likely be extremely worth it.
There’s a lot of crazy Tesla modifications that have been done as of late. But some, as it is with a lot of things on the internet these days, have become more silly gimmicks than serious automotive projects. Fortunately, car enthusiasts like Andreyev, who just happen to also love electric vehicles, are taking it upon themselves to create one-of-a-kind EVs that would surely capture the attention of anyone on the road.
Check out the latest video in the CyberRoadster’s creation below.
Don’t hesitate to contact us with news tips. Just send a message to simon@teslarati.com to give us a heads up.
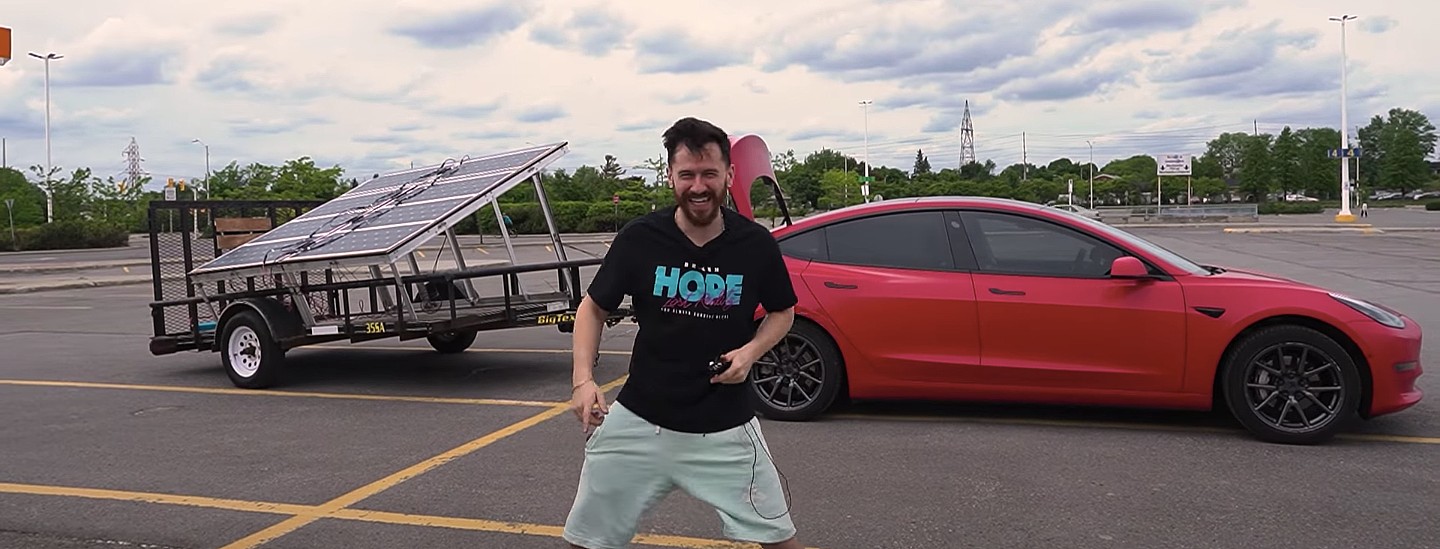
A Tesla owner has demonstrated a rather novel way to charge his Model 3. In a recent video, Sean Callaghan of the ItsYeBoi YouTube channel opted to use a series of off-the-shelf solar panel sheets onto a towable trailer to create a mobile charging unit for his all-electric sedan.
Callaghan planned to use only the sun and the solar sheets purchased from e-commerce platform Wish to charge his Model 3. The solar panel sheets would collect energy from the sun and transfer it to a control panel. The control panels were connected to batteries that would hold the energy—the batteries connected to an inverter, which would then charge the Tesla Model 3.
The entire assembly would provide the Model 3 with about 800 watts of energy on a completely sunny day. However, Callaghan shot the video when weather was overcast, so the entire solar panel trailer build only managed to provide around 300 watts throughout the YouTube host’s test.
To put this into perspective, a 100 volt home wall outlet provides 1.4 kilowatts of power, or 1,400 watts. Therefore, the 300-watt solar panel assembly built by Callaghan was producing less than 25% of the energy of a typical wall outlet. This is pretty marginal compared to Tesla’s 250-kilowatt V3 Superchargers, which provides 250,000 watts, or about 833 times as much power as the makeshift solar panel build.
However, Callaghan’s goal was not to charge the vehicle quickly. He explained the idea came from a previous video where he used a $5,000 Wish-purchased wind turbine to charge his Model 3. He wanted to test the effectiveness and efficiency of the system, which was questionable due to the time it would take to charge the battery fully.
The Model 3 battery pack is 78 kWh, and with Callaghan’s 300-watt system charging his electric vehicle, it would take 260 hours to supply the Tesla’s battery to full capacity.
In the past, electric vehicle enthusiasts have asked Tesla CEO Elon Musk why the company’s vehicles do not contain solar glass roofing, which would charge the car while the owner is driving. Musk has explained that the efficiency of this idea is challenging and likely would not provide an ample amount of range.
When asked about the idea of putting solar panels on the top of Tesla’s vehicles in 2017, Musk responded that the idea was “Not that helpful, because the actual surface of the car is not that much, and cars are often inside. The least efficient place to put solar is on the car.” It also would not be cost-effective for Tesla because “the cost of the panels and electronics, R&D and assembly would never pay for itself in the life of the vehicle, compared to charging from the wall in your garage,” Quartz noted.
That being said, Tesla plans to implement solar panels onto the motorized tonneau of the upcoming Cybertruck. The idea was discussed on Twitter when Musk stated that the optional feature would add “15 miles per day, possibly more” when parked in the sunlight. Also, fold-out solar wings could help capture enough solar energy for 30 to 40 miles a day.
Watch Sean Callaghan’s video of his makeshift solar panel trailer below.

Armored Tesla Cybertruck “War Machine” debuts at Defense Expo 2025

Tesla Megapacks chosen for 548 MWh energy storage project in Japan


